
Table of Contents
Purpose #
This SOP outlines the steps to effectively use the Sellux Pro AI tool for generating product listings, including titles, bullet points, and descriptions.
Scope #
This procedure applies to all users of the Sellux Pro AI tool.
Prerequisites #
- Valid license key for the Sellux Pro AI tool.
- Basic understanding of product listing requirements.
Procedure #
1. Opening the Tool #
- Launch the Sellux Pro AI Tool: Open the application on your device.
- License Key Verification:
- If your license key is valid, a success message will pop up.
- Click the “OK” button to proceed.
2. Accessing the Main Dashboard #
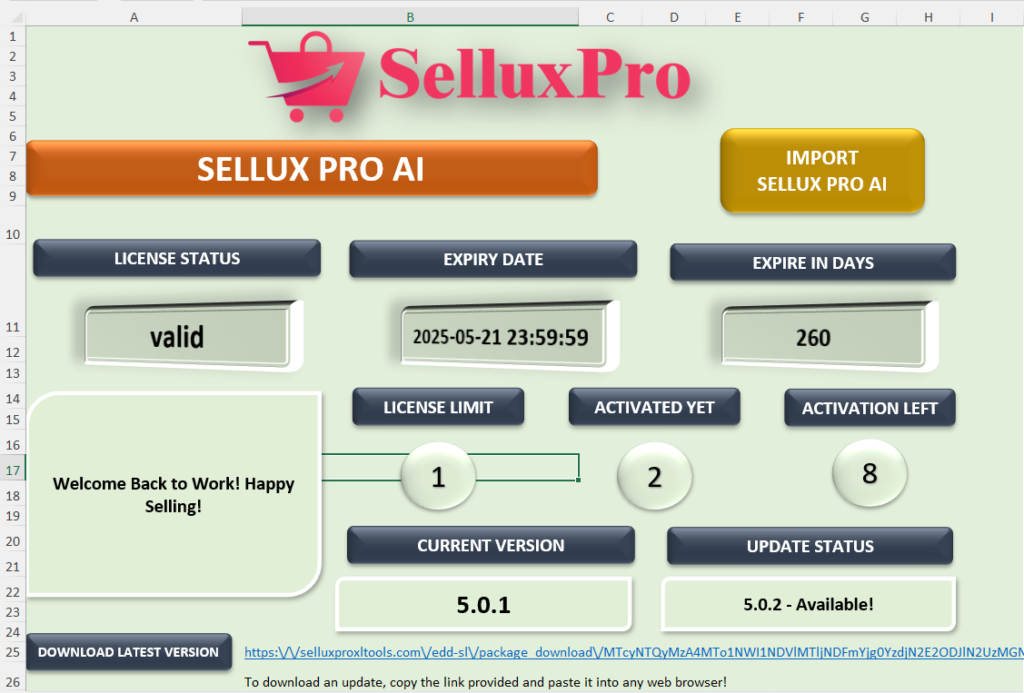
- Upon successful opening, the main dashboard will be displayed.
- Review the validity details of your tool, which will show important information regarding your subscription.
3. Import Automation #
- Click on the “IMPORT AUTOMATION” button.
- A list of available sheets will appear for use.
4. Filling Out the Listing Creator Sheet #
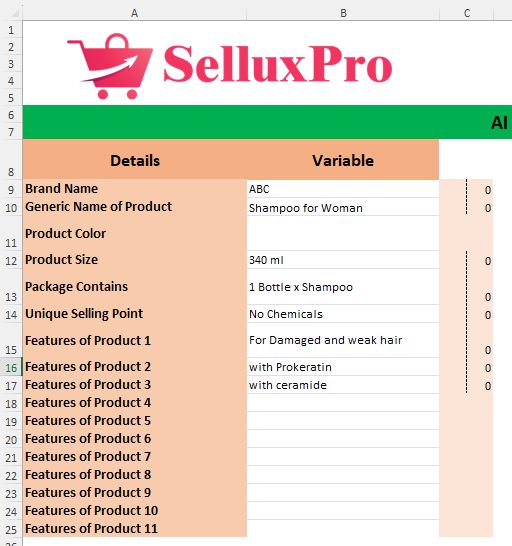
- Select the Listing Creator Sheet.
- Basic Data Entry:
- Fill in the following fields:
- Brand Name
- Generic Name of Product
- Product Color
- Size
- Unique Selling Point
- Features
- Fill in the following fields:
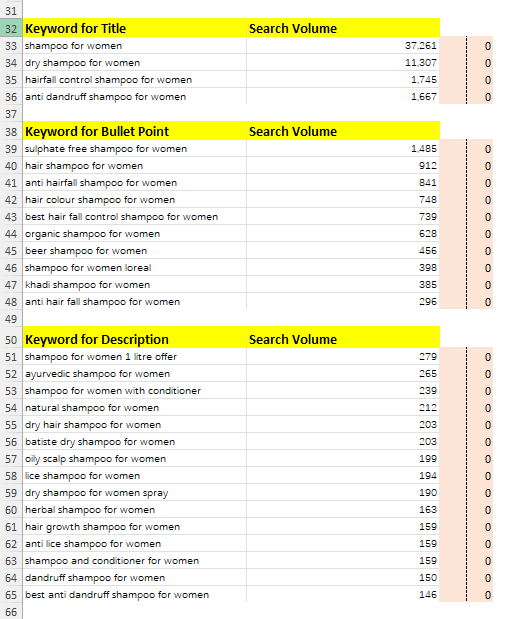
- Keyword Entry:
- Title Keywords: Enter up to 4 keywords.
- Bullet Point Keywords: Enter up to 10 keywords.
- Description Keywords: Enter up to 15 keywords.
5. Generating Titles #

- Click on the “GENERATE TITLE” button.
- The tool will create a title based on the product details and keywords provided.
- Review the Generated Title:
- Check the character count and keyword frequency.
- Regenerate Title (if necessary):
- If the generated title is unsatisfactory, click on the “REGENERATE TITLE” button.
- You can generate up to 3 variations at a time and select the most suitable one.
6. Generating Bullet Points #
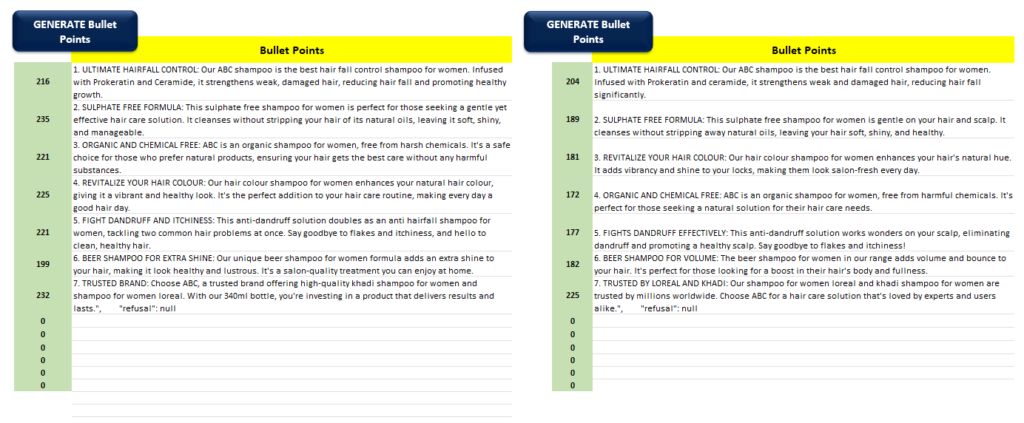
- Click on the “GENERATE BULLET POINT” button.
- The tool will provide 7 bullet points.
- Review Bullet Points:
- Check the keyword usage in the bullet points.
- Regenerate Bullet Points (if necessary):
- You can create up to 3 variations of 7 bullet points each and choose the best option.
7. Generating Description #
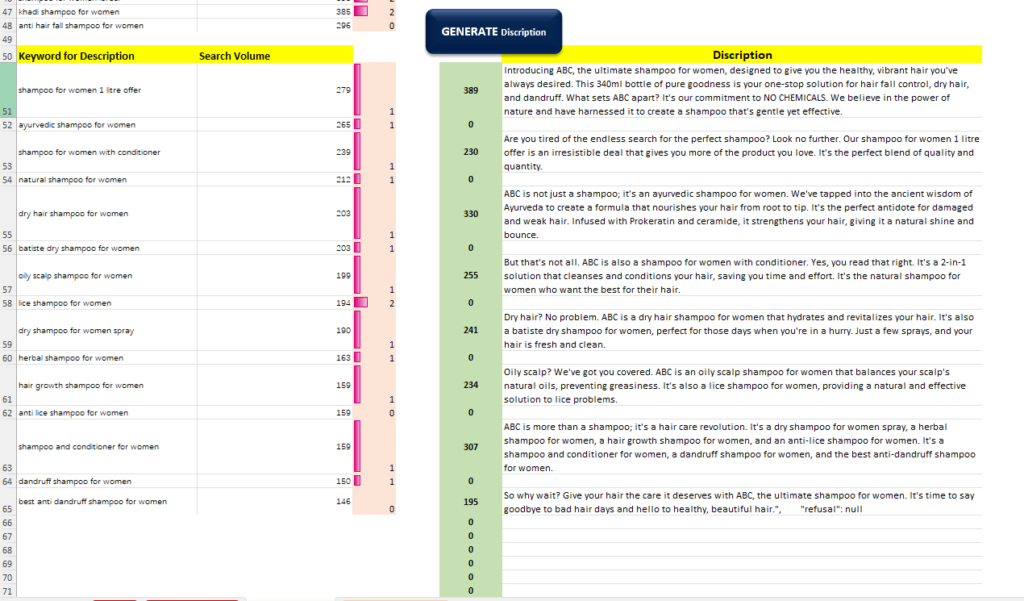
- Click on the “GENERATE DESCRIPTION” button.
- The tool will create a detailed description for your product.
8. Using the Keyword Extractor Sheet #
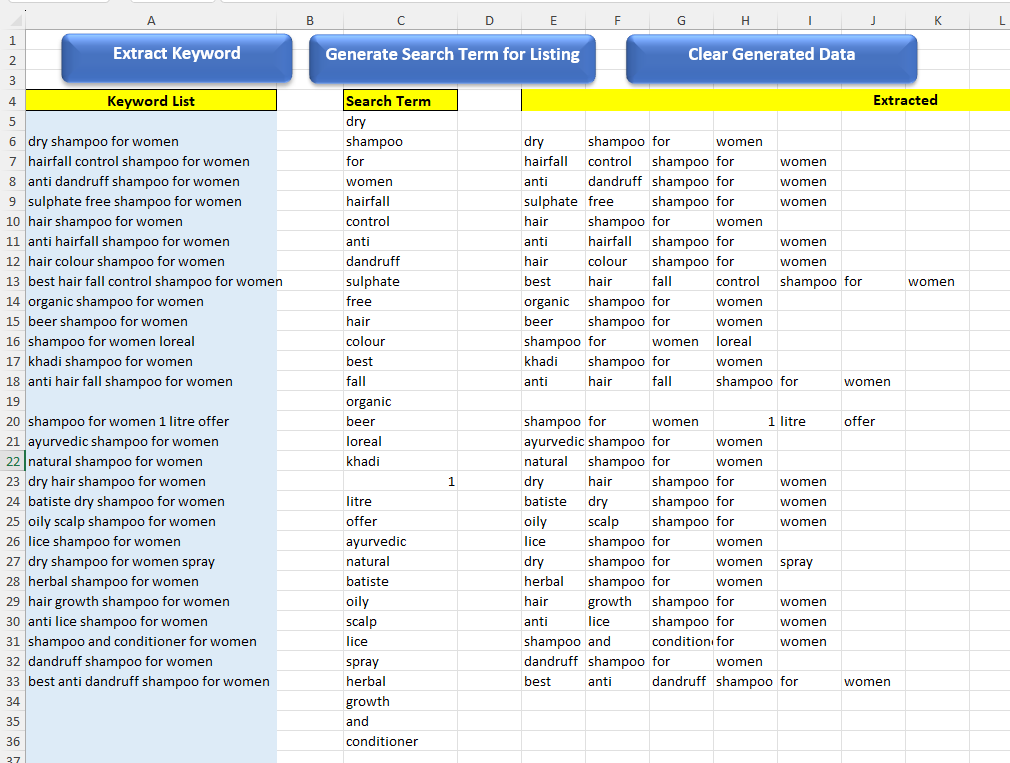
- Navigate to the KEYWORD EXTRACTOR sheet.
- Preparing Backend Search Terms:
- First, click on “CLEAR GENERATED DATA”.
- Then, click on “EXTRACT KEYWORD”.
- Finally, press “GENERATE SEARCH TERM FOR LISTING”.
9. Finalizing Your Listing #
- After completing the above steps, your listing copy is ready for use.
- Review all generated content to ensure it meets your standards and requirements before publishing.
Conclusion #
Following this SOP will help you efficiently utilize the Sellux Pro AI tool for creating effective product listings. Always ensure that the information entered is accurate and relevant to maximize the tool’s effectiveness.


